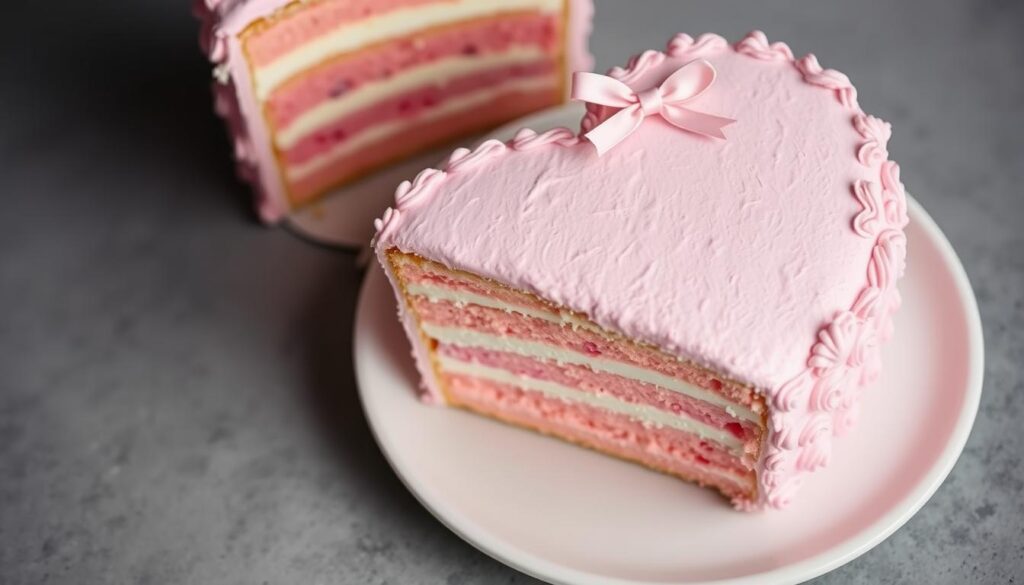
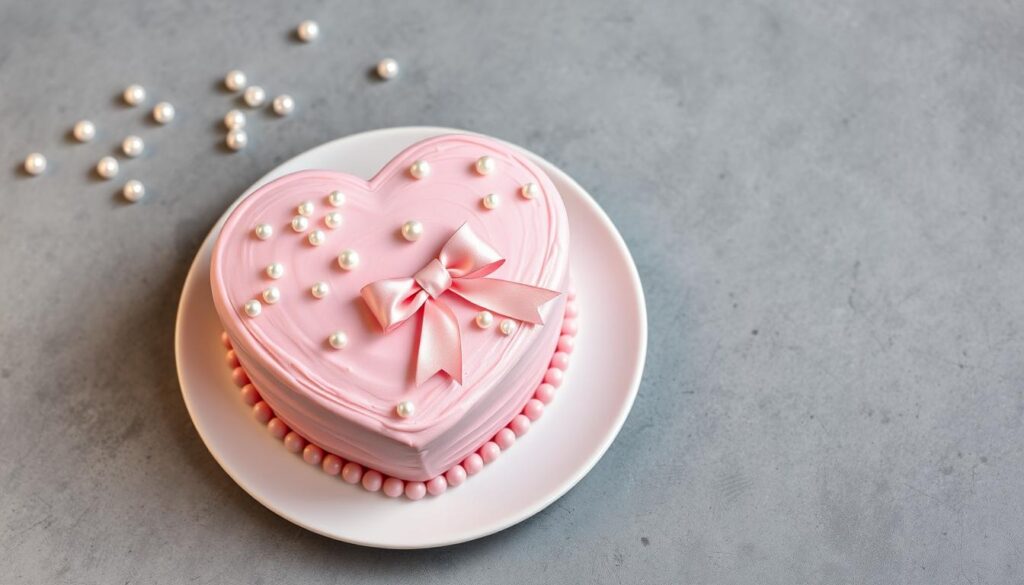
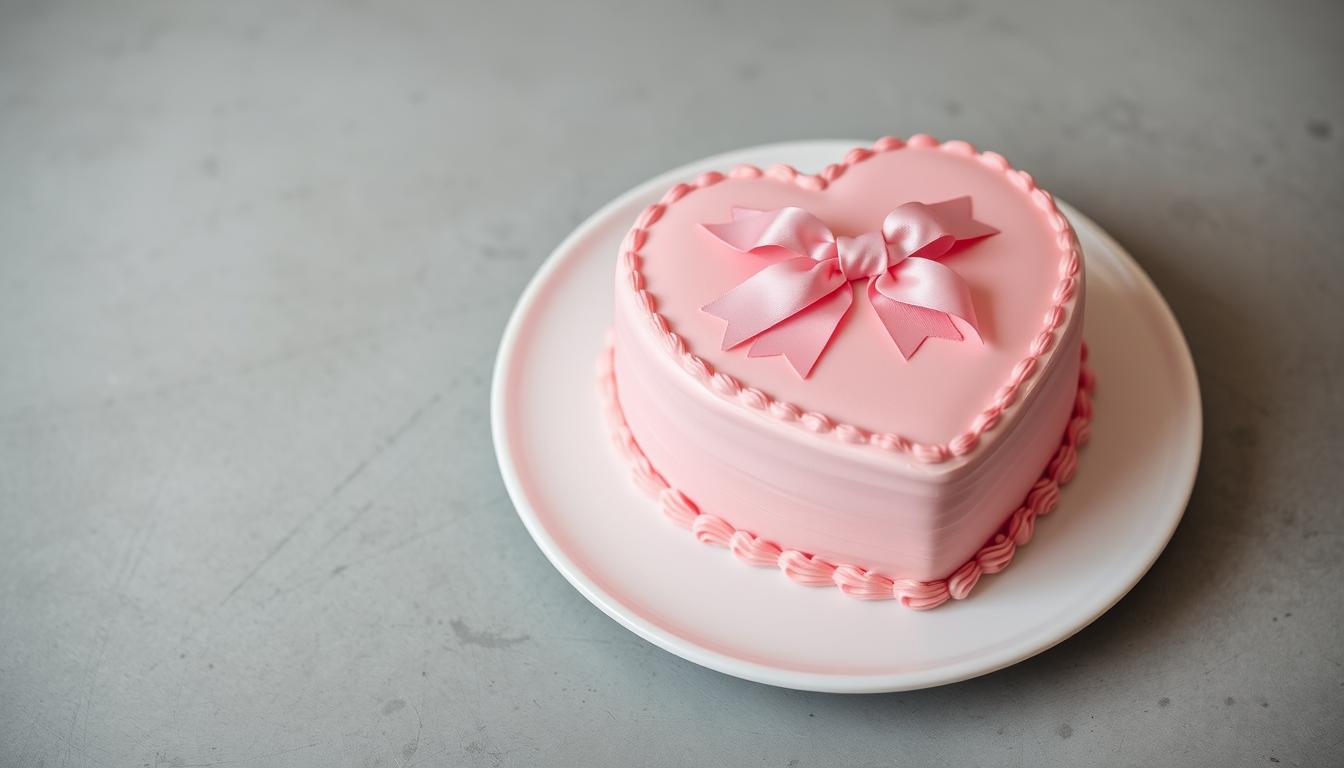
Every special moment needs a cake that speaks to the heart. Imagine making a stunning heart pink cake. It turns any celebration into a memory to cherish. This vintage cake recipe is more than baking. It’s about making a cake that shows love and amazes everyone.
Baking a heart-shaped pink cake with a pink bow is a labor of love. It’s perfect for Valentine’s Day, birthdays, or surprising someone special. This recipe will make your baking skills shine and create a beautiful centerpiece.
The magic of this pink bow cake is in its simple elegance. Soft pink colors, a heart shape, and a bow make it a masterpiece. It tells a story of care and creativity.
Key Takeaways
- Create a stunning heart-shaped pink cake for special occasions
- Master vintage cake decorating techniques
- Learn professional-level cake design skills
- Impress guests with a visually stunning dessert
- Transform simple ingredients into an elegant cake
Introduction to Pink Vintage Cake Making
Vintage cake making has turned baking into an art form. It celebrates nostalgia and creativity. Pink cakes have a rich history that goes beyond just desserts. They capture moments of joy and special celebrations.
The world of retro baking is a journey through culinary traditions. Pink cakes are iconic for many special events:
- Birthday celebrations
- Mother’s Day gatherings
- Baby showers
- Bridal showers
- Wedding receptions
Exploring vintage cake techniques shows that color and presentation matter as much as taste. The art of making a perfect pink cake requires precision, passion, and a touch of nostalgic charm.
“Baking is love made edible” – Unknown Pastry Chef
Retro baking focuses on handcrafted details and personal touches. Modern bakers are bringing back vintage aesthetics. They use carefully chosen ingredients, meticulous decoration, and color psychology.
| Event | Recommended Pink Shade |
|---|---|
| Baby Shower | Soft Pastel Pink |
| Bridal Shower | Blush Pink |
| Birthday | Vibrant Hot Pink |
Your pink vintage cake journey starts with understanding design, color, and technique. Each cake tells a story, connecting generations through baking.
Essential Ingredients for Your Pink Buttercream Cake
Making a beautiful pink buttercream cake needs the right ingredients. You must pick the best parts to make your cake stand out. Let’s look at the key ingredients and decorations that will make your baking special.
Quality Butter and Sugar Selection
The base of a great cake is top-notch ingredients. For your buttercream, choose:
- High-fat content unsalted butter (European-style preferred)
- Fine-granulated pure cane sugar
- Fresh, high-quality cream cheese
Food Coloring Options
Getting the right pink color is key. Use gel-based colors for the best and brightest results:
| Color Type | Intensity | Recommended Use |
|---|---|---|
| Gel Food Coloring | High | Professional cake decorating |
| Liquid Food Coloring | Low | Basic home baking |
| Powder Food Coloring | Medium | Specialized techniques |
Specialty Decorating Items
Make your cake pop with these special items:
- Edible pearl sprinkles
- Metallic food-safe glitter
- Precision piping tips
- Cake turntable for smooth frosting
“The secret to a beautiful cake is not just in the taste, but in the artful combination of ingredients and decoration.” – Professional Baker’s Wisdom
By picking the right ingredients and decorations, you’ll make a cake that’s tasty and looks amazing.
Required Baking Tools and Equipment
Making the perfect pink heart-shaped cake needs special tools. These tools will make your baking better. Whether you’re new or experienced, the right tools are key to a great cake.
- Heart-shaped cake pan: The base of your cake’s design
- Electric mixer for smooth batter
- Piping bags for detailed decorations
- Offset spatula for exact frosting
- Cooling rack for the perfect cake texture
“The right tools can turn a good baker into a great one.” – Professional Pastry Chef
Choosing the right heart-shaped cake pan is important. Look for:
- Non-stick material for easy cake removal
- Sturdy construction to keep the cake shape
- The right size for your recipe
Piping bags are key for beautiful decorations. Bakers suggest having different sizes and tips. They help create everything from small rosettes to big heart shapes.
Pro tip: Buy good-quality baking tools that last. Precision and the right tools are the secrets to a stunning cake. It will wow everyone at your party.
Heart Pink Cake with Pink Bow Recipe
Making the perfect pink cake needs care and love. Your heart-shaped cake batter will be the star of a beautiful dessert. It will look great and taste moist. Let’s explore how to make this amazing pink cake.
Cake Batter Preparation
Getting the cake batter right is key for a great pink cake. First, collect these important ingredients:
- 2½ cups all-purpose flour
- 1½ cups granulated sugar
- 3 large eggs
- 1 cup unsalted butter, softened
- 1 cup whole milk
- 2 teaspoons vanilla extract
- Pink food coloring
Mixing Techniques
To make the best heart-shaped cake batter, follow these tips:
- Cream butter and sugar until light and fluffy
- Add eggs one at a time, mixing well
- Alternately add flour and milk
- Gently fold in vanilla extract
- Add pink food coloring slowly to get the right color
Baking Temperature and Time ” Heart Pink Cake “
Getting the right texture needs exact baking. Heat your oven to 350°F (175°C). Grease your heart-shaped cake pan well and line with parchment paper. Pour the batter evenly for a smooth cake.
“Baking is an art and a science – precision is key to creating the perfect cake!” – Professional Baker
Cooling Process ” Heart Pink Cake “
After baking for 30-35 minutes, check if the cake is done with a toothpick. Let it cool in the pan for 10 minutes, then move it to a wire rack. Cool completely before frosting to avoid melting and get a smooth finish.
Pro tip: Patience during cooling is key for a perfect cake texture!
Creating the Perfect Pink Buttercream Frosting
Making smooth buttercream that’s just the right pink is all about precision. Your pink buttercream recipe needs the right mix of ingredients and techniques. These will turn an ordinary cake into a stunning work of art.
The key to great pink buttercream is using top-notch ingredients. You’ll need:
- Unsalted butter (room temperature)
- Powdered sugar
- Heavy cream or milk
- Vanilla extract
- Gel food coloring (deep pink)
Experts say to use 1 cup unsalted butter to 4 cups powdered sugar. This mix makes buttercream that’s smooth, pipes well, and keeps its shape.
“The secret to perfect pink buttercream is patience and precise mixing techniques.” – Professional Pastry Chef
To make your pink buttercream, start by beating the butter until it’s light and fluffy. Slowly add powdered sugar, mixing at low speed to avoid a mess. Add 2-3 tablespoons of heavy cream to get the right spread.
For that perfect pink color, use gel food coloring carefully. Just 4-5 drops of Americolor Soft Gel Paste Deep Pink can make your frosting look amazing. Remember, the color gets stronger over time, so start with a little and add more as needed.
- Mix colors slowly
- Use a practice mat for testing
- Achieve firm yet spreadable consistency
- Refrigerate briefly if too soft
Experts say 70% of buttercream success is about the right texture. You want frosting that’s firm enough for designs but soft enough to spread smoothly on your cake.
Mastering the Art of Cake Layering ” Heart Pink Cake “
Making a stunning cake needs skill and precision, mainly in layering. Professional bakers say a beautiful cake comes from well-prepared and assembled layers.

Before stacking, make sure your cake layers are even. Uneven layers can make your cake wobbly or tilted. Here are key tips for even layers:
- Use a long serrated knife to level cake tops
- Rotate the cake slowly while cutting
- Keep the knife parallel to the cake board
- Chill cakes before trimming for cleaner cuts
Mastering the Crumb Coat Technique ” Heart Pink Cake “
The crumb coat is a baker’s secret for a flawless cake. It’s a thin frosting layer that seals in crumbs and smooths the base for decoration.
| Crumb Coat Step | Key Tips |
|---|---|
| First Layer Application | Apply a thin, even layer of frosting |
| Chill Time | Refrigerate for 15-20 minutes |
| Final Coat | Add thick, smooth final frosting layer |
“A perfect crumb coat is the foundation of a professional-looking cake.” – Professional Baker’s Wisdom
When stacking layers, use a cake turntable for better precision. Start with a small dollop of frosting on the cake board. Then, stack each layer carefully, checking alignment from all sides.
Vintage Style Decorating Techniques ” Heart Pink Cake “
Make your heart-shaped pink cake special with old-school cake design. These techniques turn a simple dessert into a beautiful vintage piece. Vintage cake decorating is all about elegant, timeless styles from the past.
Retro piping adds fancy details to your cake. Here are some classic ways to make your cake stand out:
- Shell Border Piping: Make delicate edges like cakes from the 1950s.
- Rosette Clusters: Use star tips for soft, flower-like decorations.
- Ribbon Embroidery: Pipe lace-like patterns that look like old textiles.
Choose vintage-inspired piping tools for your cake:
| Piping Tip | Vintage Technique | Difficulty Level |
|---|---|---|
| Wilton 1M | Classic Rosette Swirls | Beginner |
| Ateco #22 | Shell Border Decoration | Intermediate |
| PME #1 | Fine Detail Work | Advanced |
“Cake decorating is not just about taste, it’s about creating edible art that tells a story.” – Vintage Baking Experts
Pro tip: Practice your retro piping on parchment paper first. It helps you get better at decorating.
Crafting the Signature Pink Satin Bow ” Heart Pink Cake “
Making a beautiful edible cake bow turns a simple dessert into a work of art. Your fondant bow tutorial will show you how to make a cake bow that wows everyone.
The secret to a perfect bow is in the details. Professional bakers know that a bow is more than a decoration. It shows off their skill.
Essential Materials for Bow Making ” Heart Pink Cake “
- Fondant or gum paste in pink shade
- Sharp cutting tools
- Cornstarch for preventing sticking
- Rolling pin
- Edible glaze or water
Step-by-Step Bow Crafting
- Roll out your fondant to a thin, even consistency
- Cut precise rectangular shapes for bow loops
- Create center knot using smaller fondant strip
- Allow pieces to dry slightly before assembly
- Attach bow sections with edible glue
When working with sugar paste decorations, patience is key. Your bow should have crisp edges and smooth surfaces that shine beautifully.
“A beautifully crafted bow can elevate a simple cake to a professional masterpiece.” – Professional Cake Decorator
Bow Placement Techniques
Place your edible cake bow carefully. The best spot is usually off-center on the cake’s top or along one side. This adds interest without taking over the design.
| Bow Placement | Visual Effect |
|---|---|
| Top Center | Traditional, balanced look |
| Side Angle | Modern, dynamic appearance |
| Diagonal | Dramatic, artistic style |
Securing the bow needs a gentle touch. Use a little buttercream or royal icing as glue. Make sure it blends well with your cake’s look.
Adding Elegant Pearl Details ” Heart Pink Cake “
Turn your vintage cake into a stunning masterpiece with edible cake pearls. These delicate sugar decorations make your cake go from simple to spectacular. They add a touch of sophistication that catches every eye. Vintage cake accents like pearls tell a story of refined craftsmanship.

Sugar pearl application needs precision and creativity. Pick from various sizes and colors to match your pink cake design. Professional bakers suggest these techniques:
- Select pearl sizes that match your cake’s scale
- Use tweezers for precise placement
- Create elegant patterns or clustered designs
- Ensure pearls adhere securely to frosting
“Edible pearls are like jewelry for your cake – they transform an ordinary dessert into an extraordinary work of art.” – Professional Pastry Chef
Research shows that cakes with edible pearls are chosen for 50% of weddings and upscale events. They increase cake elegance by 20%. When applying sugar pearls, keep these pro tips in mind:
- Chill buttercream slightly before pearl placement
- Use royal icing as a gentle adhesive
- Create gradient or clustered pearl effects
- Match pearl color to cake’s overall color palette
Your vintage cake will shine with these sophisticated sugar pearl details. It will be a memorable centerpiece that delights guests and shows off your artistic baking skills.
Professional Tips for a Smooth Finish
Getting a professional cake finish needs skill and precision. Your buttercream frosting can go from good to amazing with the right techniques. Knowing cake decorating tricks is key.
Temperature is very important for a smooth cake frosting. Professional bakers say that keeping the temperature right is key to a great cake look.
Mastering Temperature for Perfect Frosting
Buttercream troubleshooting starts with knowing how temperature changes your frosting. Room temperature ingredients are essential for a pro cake finish:
- Keep butter at 68-72°F for the best smoothness
- Make sure eggs are room temperature before mixing
- Stay away from hot kitchens to prevent buttercream from separating
Essential Tools for Smooth Cake Decoration
Choosing the right tools can make your cake frosting better. Professional bakers suggest:
| Tool | Purpose | Professional Tip |
|---|---|---|
| Offset Spatula | Even frosting application | Use angled edge for precise control |
| Bench Scraper | Smoothing sides | Hold at 45-degree angle for perfect finish |
| Turntable | Consistent rotation | Enables seamless, professional decorating |
“The difference between a good cake and a great cake is in the details of your finish.” – Professional Pastry Chef
By learning these pro techniques, you’ll make buttercream wonders that look as good as they taste.
Storage and Serving Recommendations
Keeping decorated cakes fresh is key. Your heart-shaped pink cake needs special care. The right storage tips will keep it looking and tasting great for days.
“The secret to a perfect cake is not just in its creation, but in its preservation.” – Vintage Baking Experts
Timing and technique are important for serving vintage cakes. Homemade cakes are best eaten within 2-3 days. Here are some tips for storing and serving your cake:
- Refrigerate the cake in an airtight container
- Use parchment paper to wrap individual slices
- Maintain consistent cool temperatures
- Avoid direct sunlight and heat sources
Keeping the cake at the right temperature is vital. Refrigeration keeps it moist and fresh. For longer storage, freeze slices wrapped in parchment paper.
| Storage Method | Duration | Recommended Approach |
|---|---|---|
| Refrigerator Storage | 2-3 days | Airtight container, covered |
| Freezer Storage | Up to 1 month | Wrapped in parchment, sealed bag |
Let the cake warm up for 30 minutes before serving. This makes it soft and flavorful. Use a warm knife for clean, elegant slices.
Pro tip: Pair your vintage pink cake with a complementary beverage like coffee or sparkling wine to elevate the dining experience.
Conclusion
Your pink cake journey has turned into a fun adventure. Making a vintage cake takes patience, creativity, and love for baking. Every step you’ve taken makes you more confident in making desserts for special occasions.
Baking is not just about following a recipe. It’s about showing your unique style. This heart-shaped pink cake is perfect for Valentine’s Day, anniversaries, or just to make someone’s day. The vintage cake ideas you’ve seen are great for making your cake special.
Don’t worry if your first cake doesn’t look like the pictures. Every cake you make will help you get better. Enjoy trying new flavors, decorations, and techniques. Making a cake from scratch is much more rewarding than buying one.
Baking is about sharing love through tasty, homemade treats. Your pink cake will be more than a dessert. It will be a special moment that brings joy and creates memories.
FAQ
How far in advance can I make this heart-shaped pink cake?
Can I use natural food coloring to achieve the pink shade?
What’s the best way to transport a decorated heart-shaped cake?
How do I prevent air bubbles in my buttercream frosting?
Can I make this cake gluten-free?
How long will the fondant bow last?
Are edible pearls safe for all ages?
Explore More Delicious Recipes on YumeRecipes!
If you enjoyed this recipe, you’ll love these other dishes: try our comforting Artisan Vegan Jalapeno Cheddar Bread Recipe .For a cozy meal, or whip up some Halibut Fish Taco: The Best Taco Ever Made
for a quick and flavorful dinner. For dessert, indulge in our Fudgy Weed Brownies: The Ultimate Marijuana Edible or try a refreshing Immunity Shots Recipe: Revitalize Your Health . Visit YumeRecipes for even more tasty ideas!

