Do you remember when crispy chicken tenders were your favorite? I’ll teach you how to make a healthier version at home. It’s a recipe that will make your family happy at dinner time.
Forget about greasy takeout. These easy baked chicken tenders are just as good as restaurant food. They’re ready in just 40 minutes, making them a quick and healthy meal.
Are you a busy parent or a home cook looking for an easy recipe? This homemade chicken tenders recipe is perfect for you. It’s crispy on the outside and tender on the inside, and much healthier than deep-fried versions.
Key Takeaways
- Crispy baked chicken tenders in just 40 minutes
- Kid-approved recipe with 5-star rating
- 50% less fat than traditional fried chicken
- Simple three-step breading process
- Perfect for meal prep and family dinners
Why These Oven-Baked Chicken Tenders Are Better Than Fried
Looking for a healthier way to cook chicken? Crispy baked chicken tenders are a tasty choice. They’re good for you and don’t lose out on flavor or texture.
Health Benefits of Baking vs. Frying
Choosing to bake your chicken tenders is a smart move. It’s a healthier option that’s full of flavor. Here’s why:
- Oven-baked tenders have only 392 calories per serving
- They have less fat than fried chicken
- They keep a lot of protein with 36g per serving
Perfect Crunch Without Deep Frying ” Chicken Tenders “
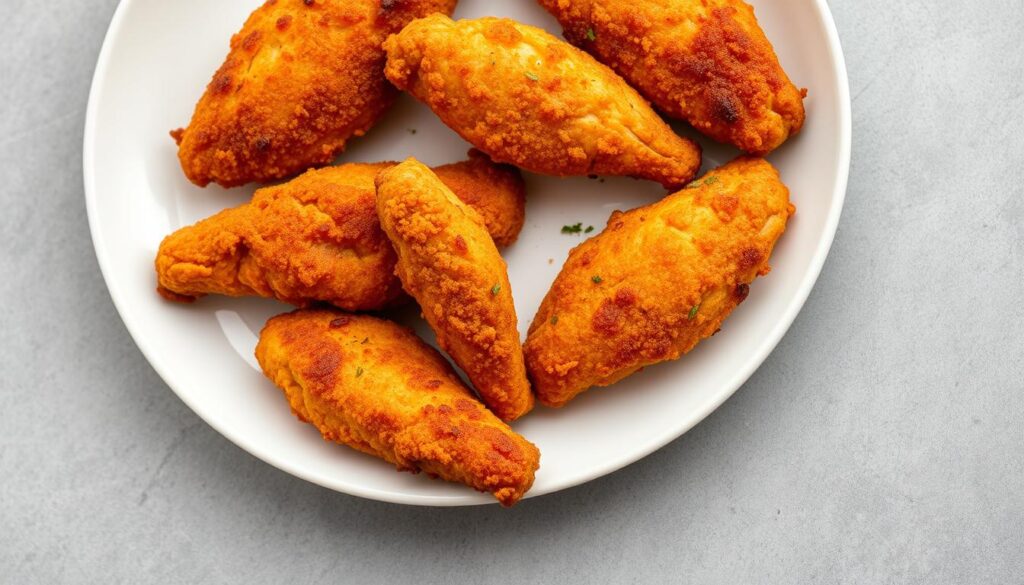
Want a crispy outside without frying? Use panko breadcrumbs and a bit of oil. This trick makes your chicken golden and crunchy, just like fried.
| Cooking Method | Calories | Fat | Protein |
|---|---|---|---|
| Oven-Baked | 392 kcal | 14g | 36g |
| Deep-Fried | 592 kcal | 19.7g | 55g |
Kid-Friendly and Family Approved ” Chicken Tenders “
Your family will enjoy these crispy baked chicken tenders. They’re easy to make and healthy. Baking at 390 degrees F makes them golden and crunchy every time.
“Healthy eating doesn’t mean sacrificing flavor – it’s about making smarter cooking choices!” – Nutrition Expert
Essential Ingredients for Crispy Chicken Tenders
Creating the perfect baked chicken fingers starts with the right ingredients. Your homemade chicken tenders will become amazing with the right mix. This mix ensures flavor and crispiness.

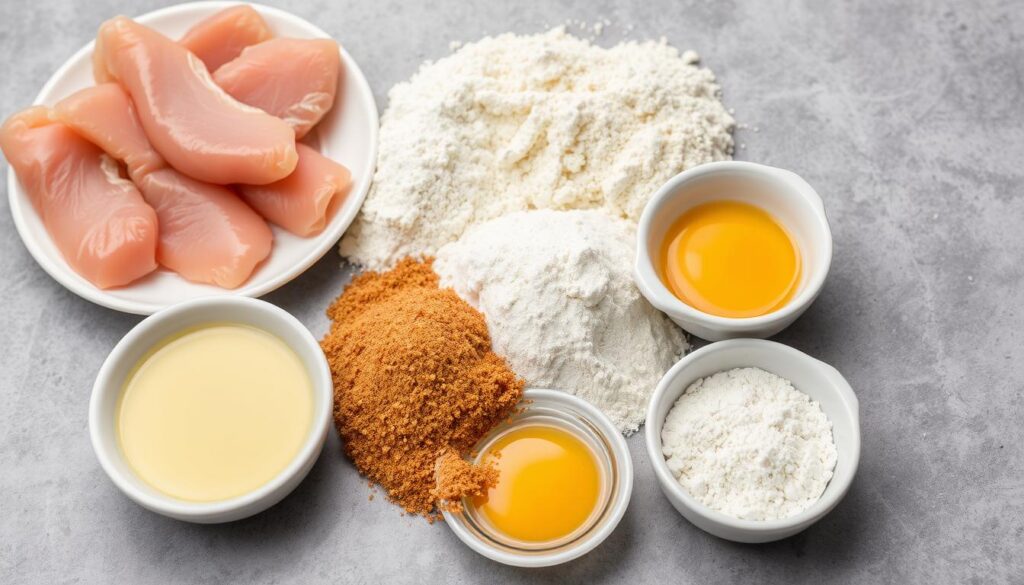
To make delicious baked chicken tenders, you’ll need these key ingredients:
- 1 pound chicken tenderloins or chicken breast strips
- 1/2 cup all-purpose flour
- 2 large eggs
- 1 1/2 cups panko breadcrumbs
- Seasonings for extra flavor
The secret to crispy baked chicken fingers is the seasoning blend. Your spice mix will include:
| Seasoning | Amount |
|---|---|
| Garlic powder | 1 teaspoon |
| Onion powder | 1 teaspoon |
| Paprika | 1 teaspoon |
| Italian seasoning | 1 teaspoon |
| Salt | 1 teaspoon |
Pro tip: Panko breadcrumbs are key for a crispy exterior. They make a lighter, crunchier coating than regular breadcrumbs.
“The right ingredients make all the difference between good and great chicken tenders!” – Professional Chef
For those with dietary restrictions, substitutions are easy. Use gluten-free flour for the coating, and almond flour for breadcrumbs. This way, everyone can enjoy delicious baked chicken fingers.
Baked Chicken Tenders Recipe – Step by Step Guide
Making perfect easy baked chicken tenders needs care and skill. This recipe will guide you through each step. You’ll get crispy, tasty results that everyone will love.
It’s easy to make delicious chicken tenders at home. We’ll break it down into simple steps. This way, you’ll get amazing results every time.
Preparing the Breading Station ” Chicken Tenders “
Having a good breading station is key for crispy chicken tenders. You’ll need three shallow dishes:
- First dish: 1 cup all-purpose flour seasoned with salt and pepper
- Second dish: 2 large eggs whisked with 2 tablespoons milk
- Third dish: 1 cup panko breadcrumbs mixed with garlic powder and paprika
Coating the Chicken ” Chicken Tenders “
For perfect coating, follow a systematic approach. Here’s how to coat evenly:
- Pat chicken tenders dry with paper towels
- Dredge each tender in flour, shaking off excess
- Dip into egg mixture, allowing excess to drip
- Roll in seasoned panko breadcrumbs, pressing gently to adhere
Baking Instructions
To get crispy baked chicken tenders, follow these baking steps:
| Temperature | Baking Time | Internal Temperature |
|---|---|---|
| 400°F (200°C) | 15-20 minutes | 165°F (74°C) |
Pro tip: Place tenders on a wire rack over a baking sheet for maximum crispiness. Let them rest for a few minutes after baking to retain moisture.
“The secret to great chicken tenders is in the details of preparation and cooking.” – Culinary Expert
Perfect Temperature and Timing Tips ” Chicken Tenders “
Cooking chicken tenders in the oven needs precision. You must pay close attention to temperature and timing. Getting that golden-brown outside and juicy inside is an art. It’s something every home cook can learn.

Wondering how long to cook chicken tenders in the oven? Here are some key tips:
- Preheat your oven to 425°F for the best crispy results
- Bake chicken tenders for 10-15 minutes on one side
- Flip tenders halfway through cooking
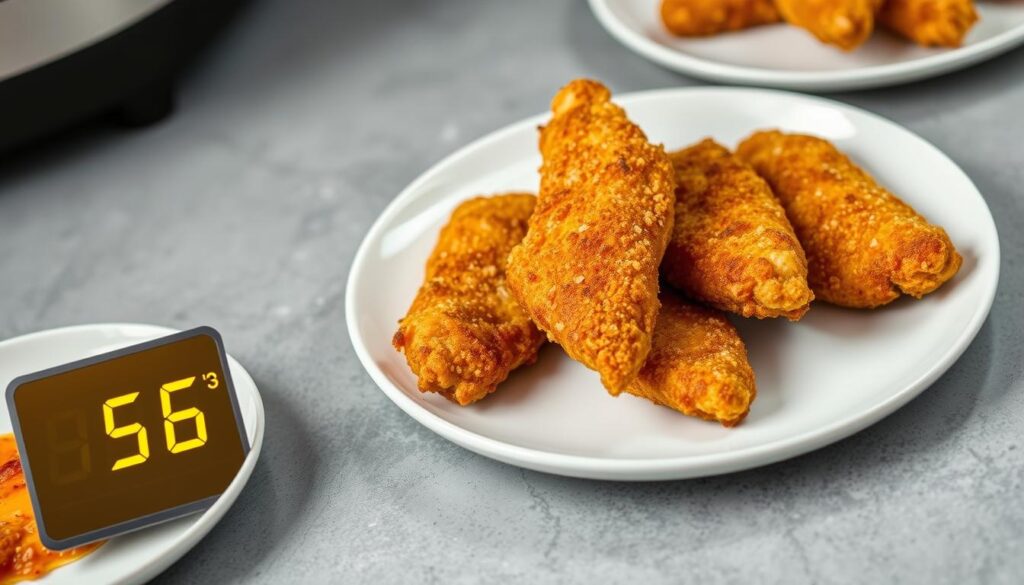
- Cook until the internal temperature hits 165°F
“The key to perfect chicken tenders is maintaining the right temperature and not overcooking.”
Getting the temperature right is key for tasty chicken tenders. An instant-read meat thermometer is a must. It ensures your chicken is cooked just right every time. Here are some pro tips for better flavor and texture:
- Let chicken rest at room temperature for 20-30 minutes before cooking
- Use a light coating of oil for a crispy outside
- Optional: Broil for 1-2 minutes at the end for extra crunch
Pro tip: Always check the internal temperature. This ensures food safety and juicy chicken tenders.
The Secret to Ultra-Crispy Panko Coating ” Chicken Tenders “
Creating crispy baked chicken tenders starts with understanding panko breadcrumbs. These Japanese-style breadcrumbs are the secret to a golden, crunchy exterior without deep-frying.
Why Panko Breadcrumbs Make a Difference
Panko breadcrumbs are lighter and airier than regular breadcrumbs. Their unique texture makes for a crispy simple chicken tender recipe. The main differences are:
- Larger, flakier crumbs
- More surface area for crispiness
- Better absorption of seasonings
- Lighter and crunchier texture
Oil and Seasoning Techniques for Maximum Crunch
To make your crispy baked chicken tenders even better, try these pro techniques:
- Lightly coat panko with 6 tablespoons of melted butter
- Add seasonings directly to breadcrumbs:
- 1 tablespoon smoked paprika
- 2 1/2 teaspoons seasoning salt
- Optional 1/4 teaspoon cayenne for heat
- Mix oil and spices before coating chicken
Pro tip: Toast your panko breadcrumbs at 375 degrees F for 3-5 minutes before coating to enhance crunchiness.
“The secret to great chicken tenders is all in the coating!” – Professional Chef
| Ingredient | Quantity | Purpose |
|---|---|---|
| Panko Breadcrumbs | 1 cup | Creates crispy exterior |
| Melted Butter | 6 tablespoons | Helps breadcrumbs adhere and brown |
| Smoked Paprika | 1 tablespoon | Adds depth of flavor |
| Seasoning Salt | 2 1/2 teaspoons | Enhances overall taste |
Storage and Reheating Methods
Keeping your baked chicken fingers crunchy is important. You can do this by storing and reheating them right. Your homemade chicken tenders will stay fresh and tasty.

Refrigeration is key for keeping your chicken tenders fresh. Store them in an airtight container for 3 to 4 days. Pro tip: Always refrigerate within two hours of cooking to maintain food safety.
Storage Guidelines
- Refrigerate in sealed container
- Use within 3-4 days
- Keep temperature below 40°F
Reheating Techniques
Reheating your homemade chicken tenders right is important. Here are the best ways to do it:
- Oven Method: Preheat to 400°F, bake refrigerated tenders for 10-15 minutes
- Air Fryer Method: Set to 375°F, cook for 5-7 minutes
- Stovetop Option: Reheat 2 minutes per side in a skillet
Always ensure the internal temperature reaches 165°F for safe consumption!
Freezing Instructions
For longer storage, freeze your baked chicken fingers up to 3 months. Wrap each tender in plastic wrap, then put them in a freezer-safe bag. Thaw in the fridge overnight before reheating.
Remember: Reheating chicken tenders multiple times can dry out the meat, so reheat only what you plan to eat.
Best Dipping Sauces and Side Dishes
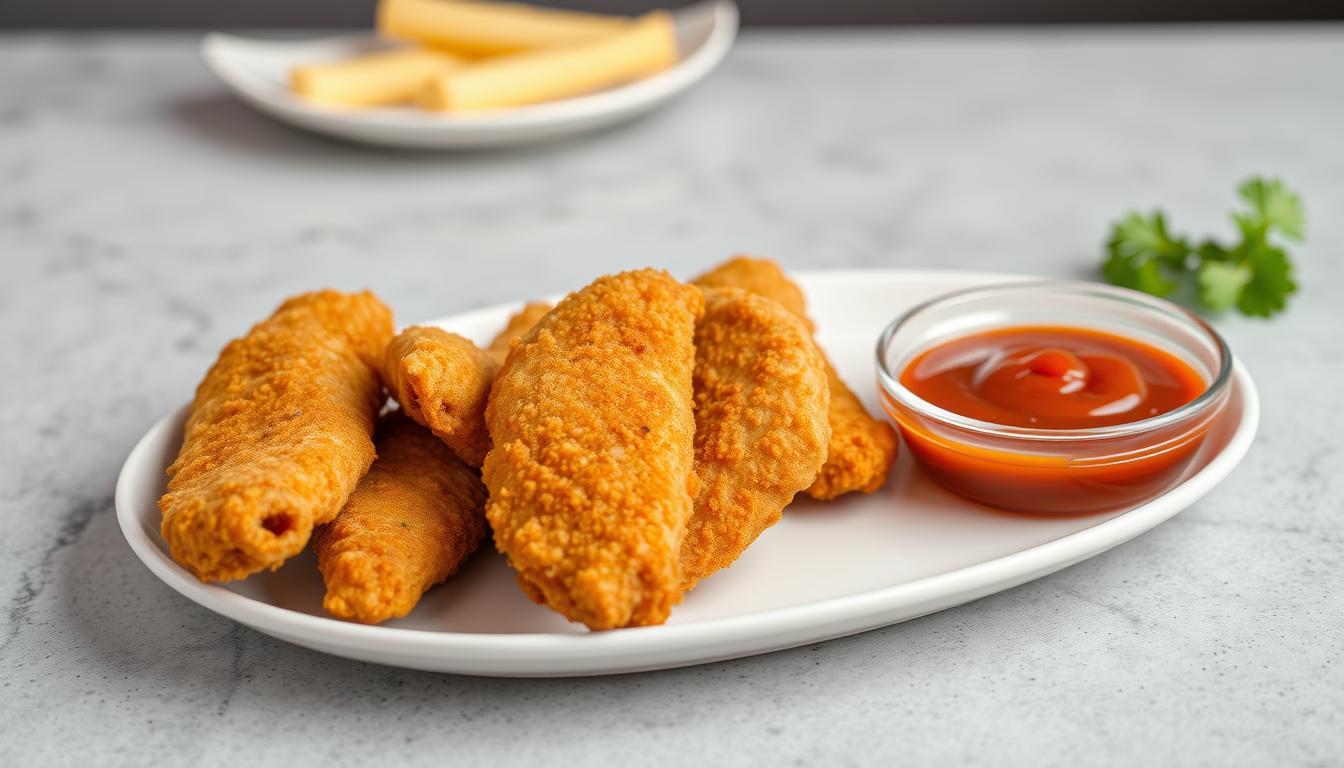
Make your kid-friendly chicken tenders even better with tasty dipping sauces and sides. The right sauce can make a simple meal exciting. It will have everyone wanting more.
Classic Dipping Sauce Pairings
Find six amazing dipping sauces to elevate your chicken tenders:
- Restaurant Ranch Sauce: A creamy mix of mayonnaise, sour cream, and buttermilk
- Bang Bang Sauce: Spicy and sweet, with mayonnaise, sweet chili sauce, and Sriracha
- Sweet and Sour Sauce: A tangy mix of pineapple juice, sugar, and ketchup
- Honey Mustard: A classic favorite
- Spicy Honey Chipotle Sauce: A zesty blend of mayonnaise and honey
- Alabama White BBQ Sauce: A unique mayonnaise-based option
Healthy Side Dish Options
Choose nutritious sides to go with your chicken tenders:
- Steamed green beans
- Roasted vegetable medley
- Fresh garden salad
- Quinoa pilaf
- Oven-baked sweet potato fries
“The perfect dipping sauce can turn ordinary chicken tenders into an extraordinary meal!” – Home Cooking Expert
Pro tip: Most sauces keep well in the fridge for 4-5 days. Try different sauces to find your family’s favorite!
Make-Ahead and Freezing Instructions
Meal prep is now easier with these simple tips for baked chicken tenders. Whether you’re planning ahead or want a quick family meal, these methods keep your chicken tenders crispy and tasty.
Preparing Ahead
Here’s how to prep your easy baked chicken tenders in advance:
- Bread the chicken tenders up to 24 hours before cooking
- Store breaded tenders in an airtight container in the refrigerator
- Keep unbaked tenders refrigerated for maximum freshness
Freezing Techniques
Freezing your Baked Chicken Tenders Recipe is a big help for busy families. Follow these steps for perfect frozen chicken tenders:
- Flash freeze breaded tenders for 1-2 hours on a baking sheet
- Transfer to a freezer-safe bag or container
- Label with the date and contents
Freezing options include:
| Preparation Type | Freezing Duration | Reheating Instructions |
|---|---|---|
| Uncooked Breaded Tenders | Up to 3 months | Bake at 400°F for 18-22 minutes |
| Fully Cooked Tenders | Up to 3 months | Reheat at 400°F for 10-12 minutes |
Pro tip: Always ensure chicken reaches an internal temperature of 165°F for safe consumption when reheating.
“Meal prep is the secret weapon for stress-free cooking!” – Home Cooking Enthuasiasts
Mastering these make-ahead and freezing techniques means you’ll always have delicious, crispy chicken tenders ready in minutes.
Tips for Keeping Chicken Tenders Moist When Baking
Baking chicken tenders can be tricky. But with the right techniques, you can keep them juicy and delicious. Wondering how to keep chicken tenders moist when baking? Several key strategies can help you get perfect results every time.
Temperature control is the most critical factor in keeping chicken moist. Is it better to bake chicken at 350 or 400? Professional chefs say baking at 400°F is best. It cooks faster and seals in juices, preventing drying out and creating a crispy exterior.
- Use a meat thermometer to check internal temperature
- Cook chicken to exactly 165°F for optimal moisture
- Avoid overcooking by monitoring cooking time carefully
Preparing your chicken tenders before baking is also important. Here are some pro tips:
- Brine the chicken for 15-30 minutes before cooking
- Pat chicken dry with paper towels to remove excess moisture
- Let chicken rest at room temperature for 20-30 minutes before baking
“The secret to juicy chicken is not just in the cooking, but in the preparation.” – Professional Chef
Coating is another key technique. A light layer of olive oil or buttermilk can help lock in moisture. The goal is to create a protective barrier that keeps the chicken tender and succulent.
Conclusion
Learning to make simple chicken tenders is easy. You just need the right ingredients and techniques. Both chicken tenderloins and boneless, skinless chicken breasts are great for making strips.
This baked chicken is a healthier choice than fried. It uses whole wheat breadcrumbs and Parmesan for extra flavor. It’s also packed with protein and low in bad fats.
Cooking is all about trying new things and having fun. You can add ground flaxseed or grated veggies for more nutrition. Each time you make this, you’ll get better and make a healthier meal.
We hope you try this recipe and make it your own. Share your cooking stories with others. Homemade baked chicken tenders can be even better than restaurant food.
FAQ
How long should you cook chicken tenders in the oven?
How do you keep chicken tenders moist when baking?
Is it better to bake chicken at 350 or 400 degrees?
What cut of chicken is best for tenders?
Can I make these chicken tenders gluten-free?
How do I make the breading stick to the chicken?
How long can I store leftover chicken tenders?
Explore More Delicious Recipes on YumeRecipes!
If you enjoyed this recipe, you’ll love these other dishes: try our comforting Artisan Vegan Jalapeno Cheddar Bread Recipe .For a cozy meal, or whip up some Halibut Fish Taco: The Best Taco Ever Made
for a quick and flavorful dinner. For dessert, indulge in our Fudgy Weed Brownies: The Ultimate Marijuana Edible or try a refreshing Immunity Shots Recipe: Revitalize Your Health . Visit YumeRecipes for even more tasty ideas!

